This page will give you a step-by-step tour through using Do Rounds to manage your D&D 5e encounters.
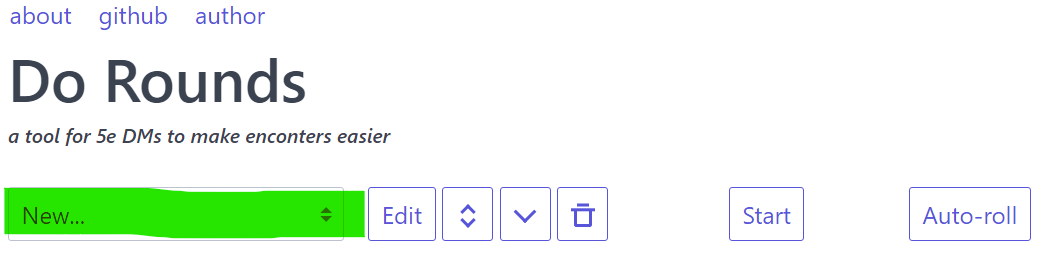
The first thing that you should notice is the Encounter List.
It will show all of the encounters that you have defined and allow
you to switch between them. Note that there is always an encounter
called 'New...' which you can edit and change the name of.
To change the name to something useful — or to rename an existing encounter — click the 'Edit' button and set the name to what you like. Then, hit the Enter key to save your change.
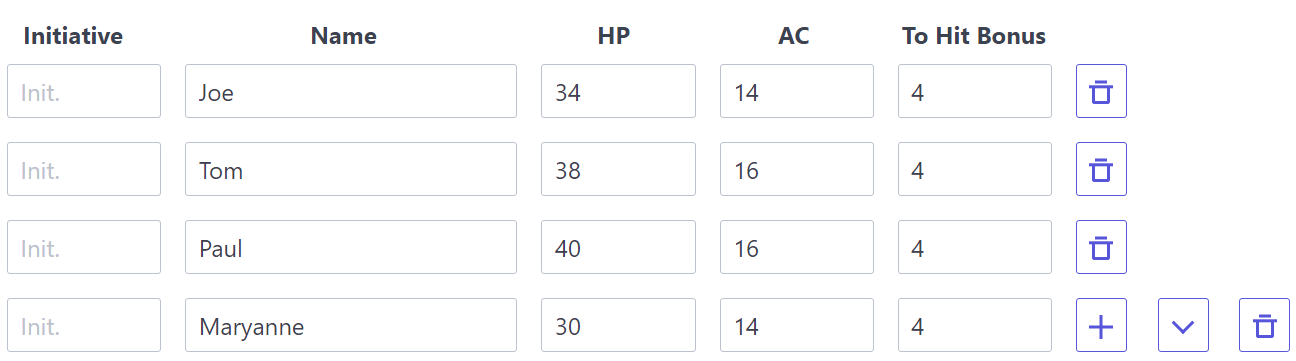
Let's create an Encounter called 'Players.' Here, we will record the player characters: Joe, who has 34 HP, 14 AC and +4 to hit; Tom, who has 38 HP, 16 AC, +4 to hit; Paul, who has 40 HP, 16 AC and +4 to hit, and Maryanne, who has 30 HP, 14 AC and +4 to hit.
Enter Joe's information, then hit the + button, which will add a new, blank line below:

Next, hit your browser's Reload button. Yes, really, try it. You'll see that all of your data is still there. Do Rounds automatically saves your data at every change, so you will never need to worry about losing work because you forgot to save.
Now, let's create an encounter with some monsters for our players to battle. Since we
will not want to have to add the player information again, let's make a new encounter
by copying this one. Hit the downward-pointing arrow button that is next to the
Encounter List:


Select the new encounter, and rename it to 'Goblin Clan Battle.' Now, we need to add
some monsters to the Encounter. Press the plus button on the last line to get a new,
blank line, and add Goblin 1, who has 10 HP, 12 AC and +4 to hit. Next, instead of
hitting the plus button to get a new blank line, try hitting the downward-pointing
arrow on that line.


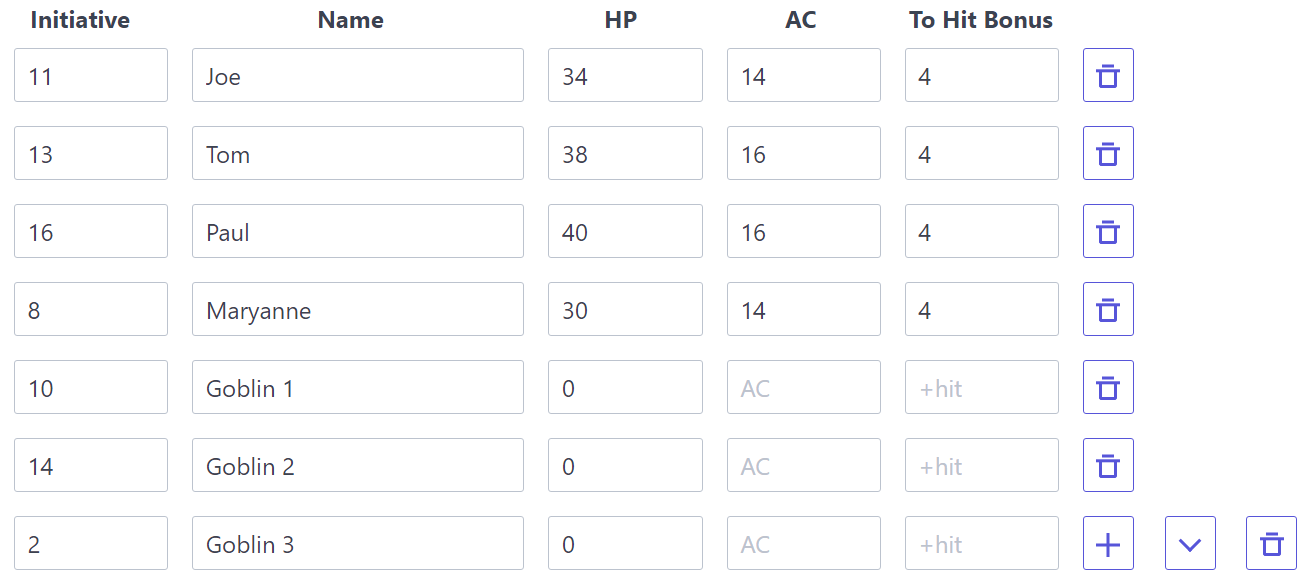
When it is time to play out the encounter, you'll have the players roll d20s for their
initiative scores. Let's say that Joe got 11, Tom 13, Paul 16 and Maryanne 8. If you would
like to save yourself the time and tedium of rolling and entering the goblins' initiative scores,
just hit the 'Auto-roll' button, and any remaining blank initiative scores will be filled
in for you:

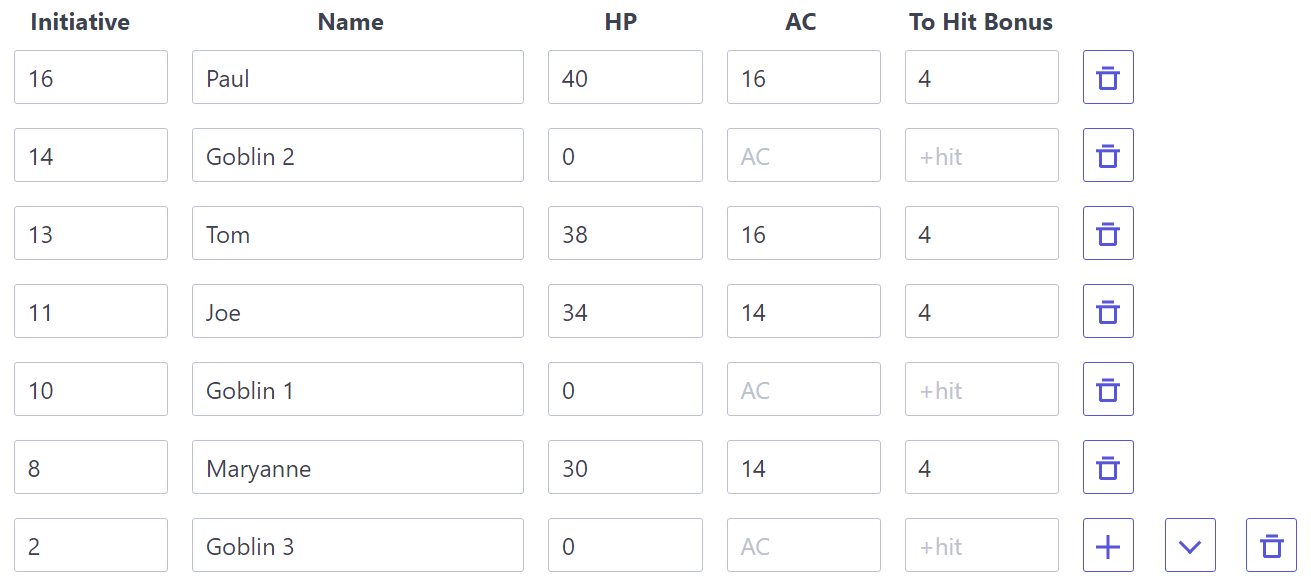
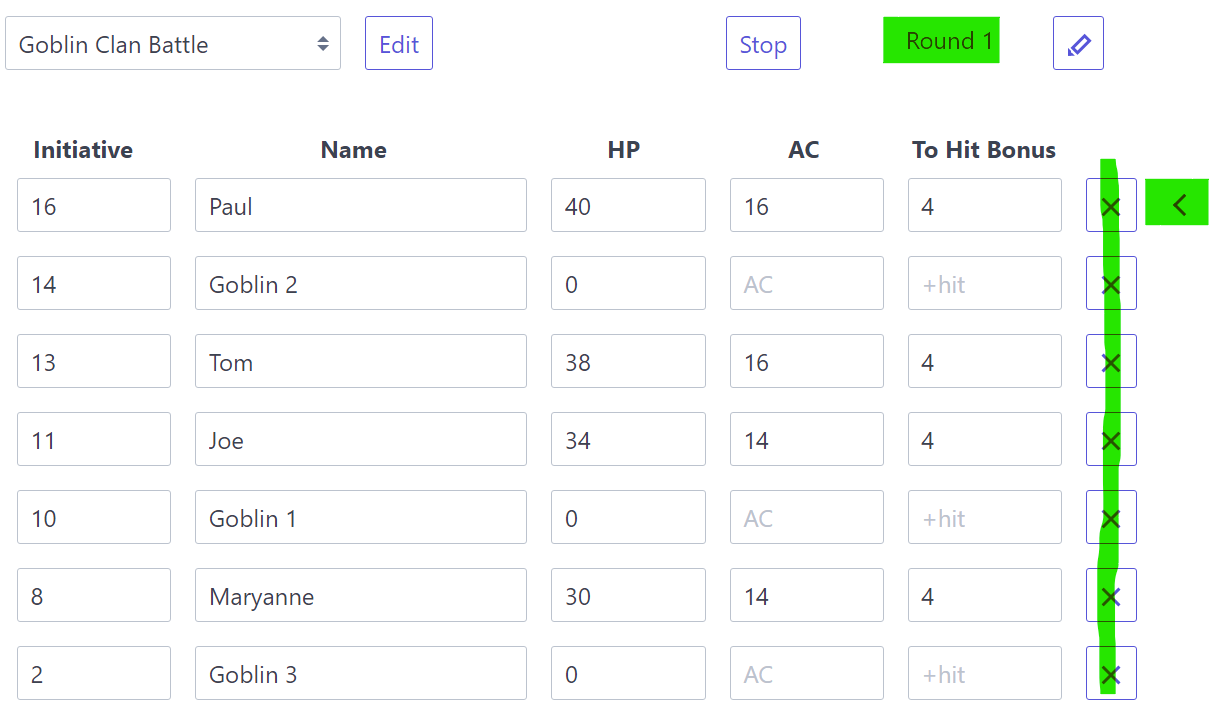
To begin playing the encounter, hit the 'Start' button:

You will notice that some elements on the page change. The text 'Round 1' appears on the
top line. The number will increase as you step through all of the encounter's
participants. Also, a left-facing arrow will appear along the right side of the grid
to indicate which player currently has their turn. Finally, each line has an X button
at the end; pressing it will indicate that the participant is no longer able to take turns,
being dead or unconcious:
You can press the spacebar to move from the current participant to the next, and after you get to the last one, the Round number will increment, and play will return to the top of the list. If any participants are disable, they will be skipped over.
You can also use the up and down arrow keys on your keyboard to change the number of
hit points that the currently participant has. On the first line, hit the down arrow
five times, indicating that Paul has taken 5 points of damage:

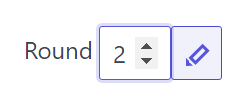
You can revise the Round number by clicking the pencil icon. Change the number
to what it ought to be and the hit Enter:
Finally, you can delete an Encounter with the trash can icon:
